Sending a contract to a client using Docxpresso involves several steps, from creating or uploading the document to configuring the necessary settings for sending. Here’s a step-by-step guide:
Step 1: Create or Upload the Document
- Log in to Docxpresso: Access your Docxpresso account.
- Create or Upload:
- Create: If you are creating a new document, use the editor to design your contract.
- Upload: If you already have a contract prepared, upload the document (usually in DOCX format).
Step 2: Prepare the Document for Sending
- Add Interactive Fields: Insert any necessary interactive fields (such as signature fields, date fields, or text fields) into your document. This ensures your client can fill out the required information directly in the document.
- Save the Document: Once all interactive fields are in place, save the document.
Step 3: Configure Sending Options
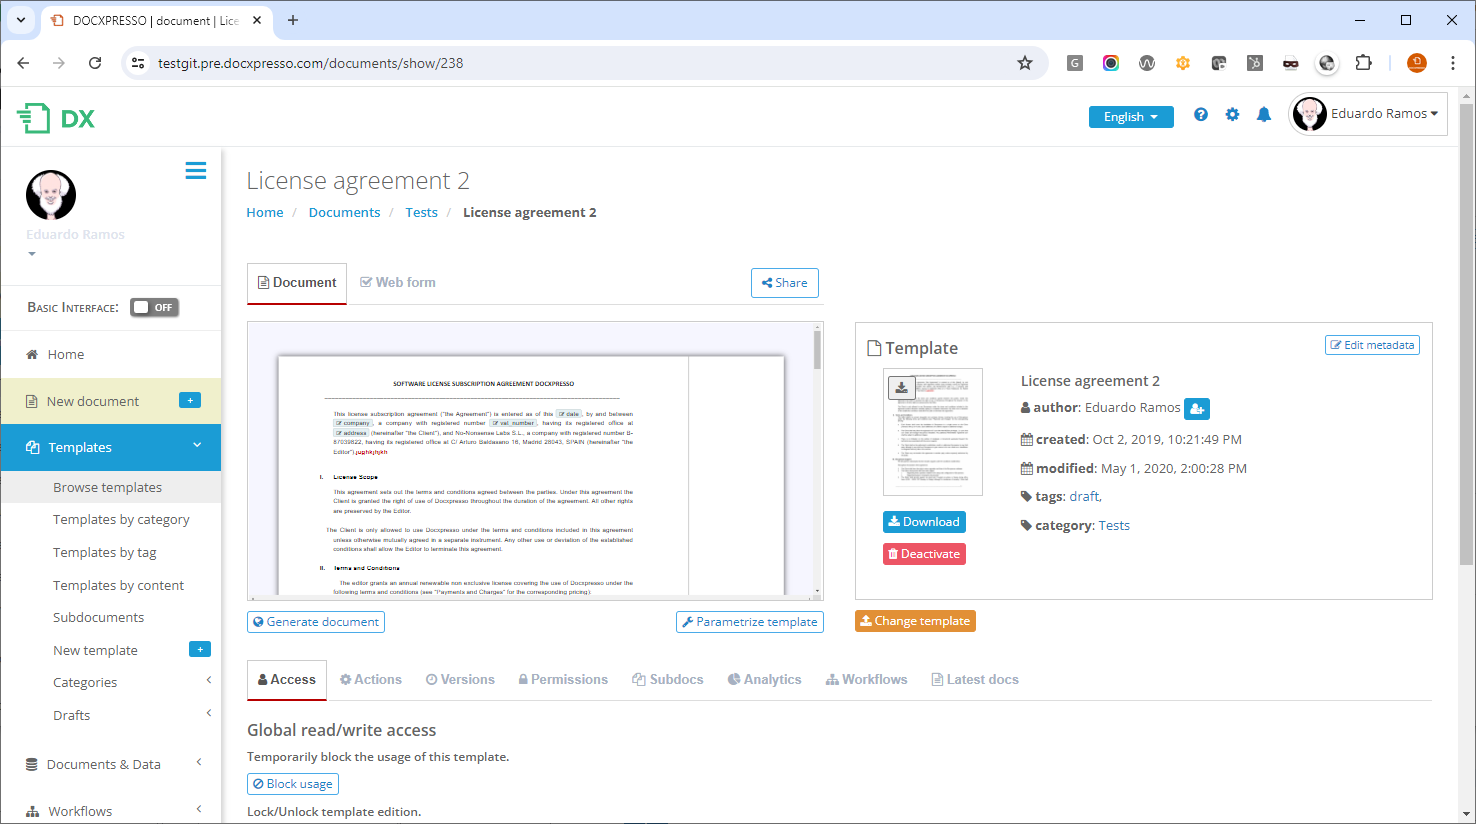
- Select the Document: Go to the list of your documents and select the one you want to send.
- Click on “Send”: Look for the option to send the document, usually found in the document options menu.
- Configure Recipients: Enter the email address of your client. You can usually add multiple recipients if needed.
- Customize the Email: Write a custom message that will be sent along with the document. This can include instructions or any additional information your client might need.
Step 4: Set Permissions and Notifications
- Set Permissions: Determine the permissions for the document. For example, whether the recipient can view, edit, or just sign the document.
- Notifications: Configure notifications to be alerted when the client views or completes the document.
Step 5: Send the Document
- Review Settings: Double-check all the settings, including the document, recipients, and permissions.
- Send: Click the send button to dispatch the document to your client.
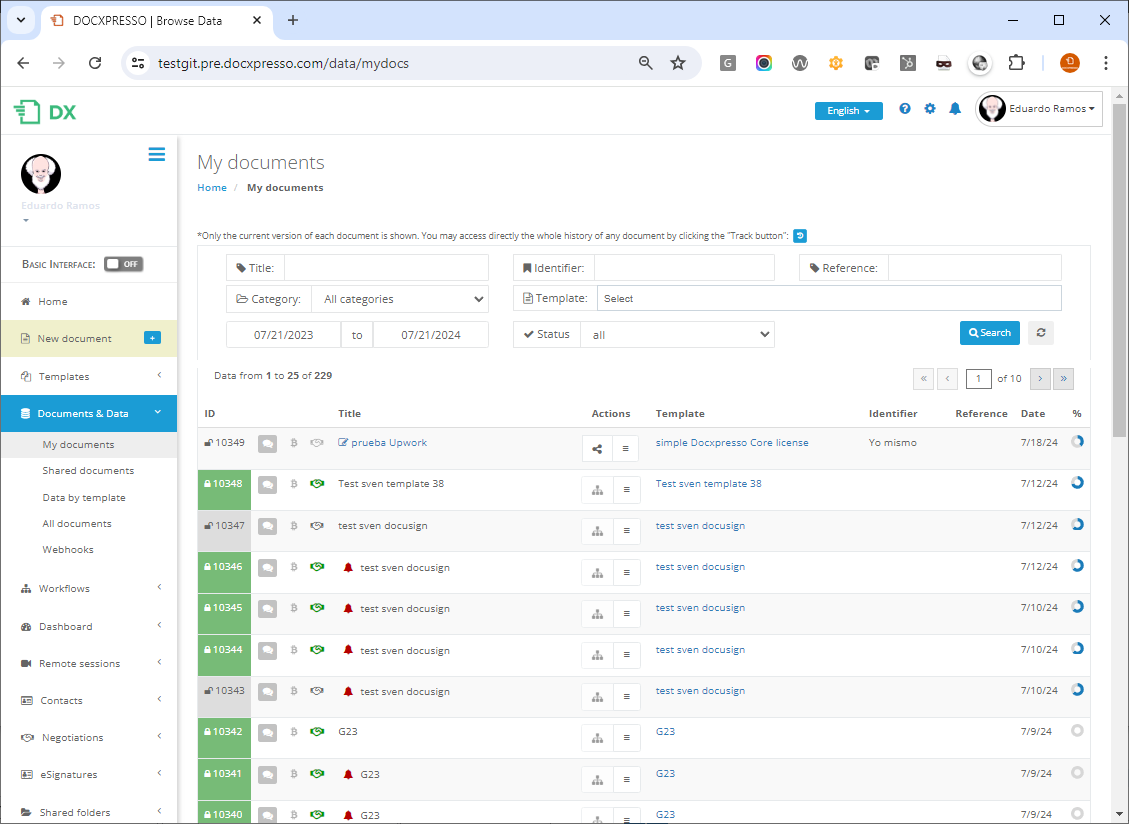
Step 6: Track and Manage the Document
- Track Status: Use the Docxpresso dashboard to track the status of the document. You can see if it has been viewed, edited, or signed.
- Follow Up: If necessary, follow up with your client based on the status updates.
Additional Tips:
- Templates: Use templates for contracts that you send frequently. This can save time by allowing you to reuse the same format.
- Security: Ensure that the document permissions and security settings are appropriately configured to protect sensitive information.
- Support: If you encounter any issues, Docxpresso’s support resources, such as FAQs, tutorials, or customer support, can provide assistance.
By following these steps, you can efficiently send contracts to your clients using the Docxpresso platform.
