The predefined lists are thought to simplify the process of inserting dropdowns with many options and/or reusable lists of items within a Docxpresso template.
A clear example of use may be the months of the year or a list of countries.
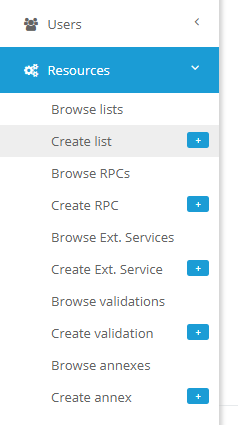
To create a list is extremely simple just click on the Resources > Create list entry of the main side menu of your backoffice:
And you will be redirected to the following interface:

The first fields to fulfill are quite standard:
- Title: the name we will use to identify the resources.
- Active: if checked this list will be available when editing a field in a template for which we want to use a predefined list.
- Description: a short description that may help other editors to understand the use and scope of the given list.
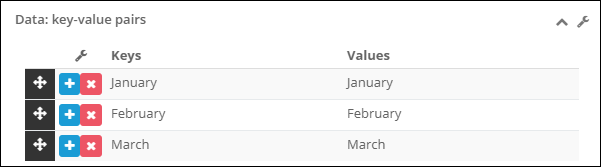
In the bottom of the page we encounter the interface needed to create the actual list.
list is composed of “key-value” pairs:
- Key: the name that will actually show up in the dropdown menu.
- Value: the associated data that will be printed in the final document.
Usually both will coincide, i.e. we would like to print in the final document the displayed info but once in a while it may show useful to show the end user a more “human readable” data that the one that will be finally stored.
You can fill the list manually by typing in the provided interface:
Just use the

button to add a new row and the

button to delete a row. Notice that you can at anytime reorder the rows by drag&drop using the provided handler:

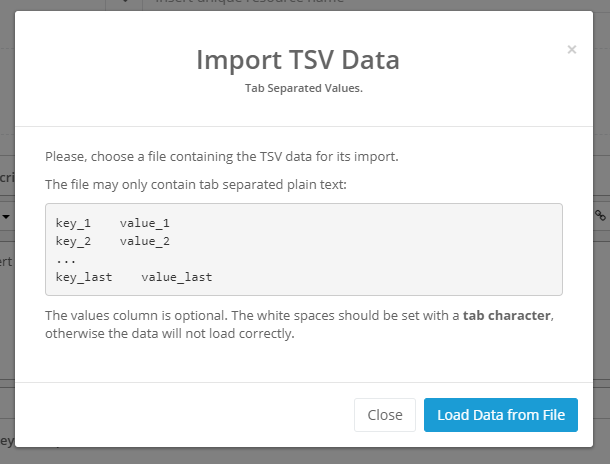
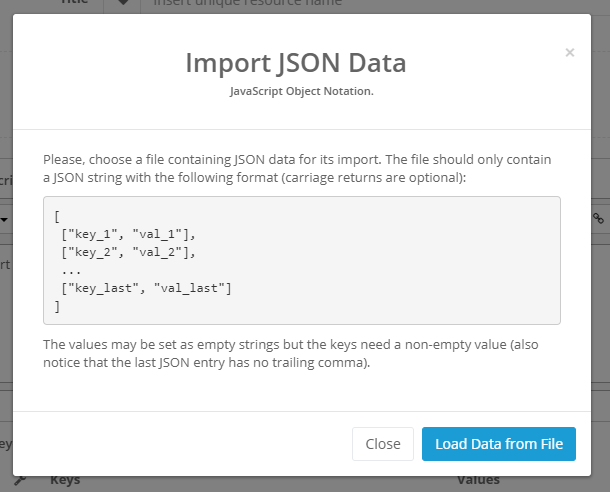
You may also load a JSON or tab separated TXT file (TSV) by clicking in the corresponding auxiliar menu entry:
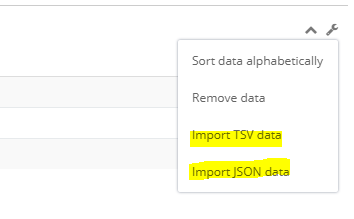
TSV:
JSON:
The same menu also offers you the possibility to order the list alphabetically or remove all existing rows.
