Create and manage a shared folder
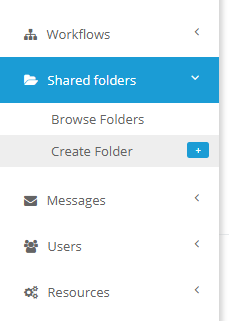
In order to create a new shared folder we should first click in the Shared Folders > Create Folder entry on the main backoffice side menu:
And we will be redirected to this interface:
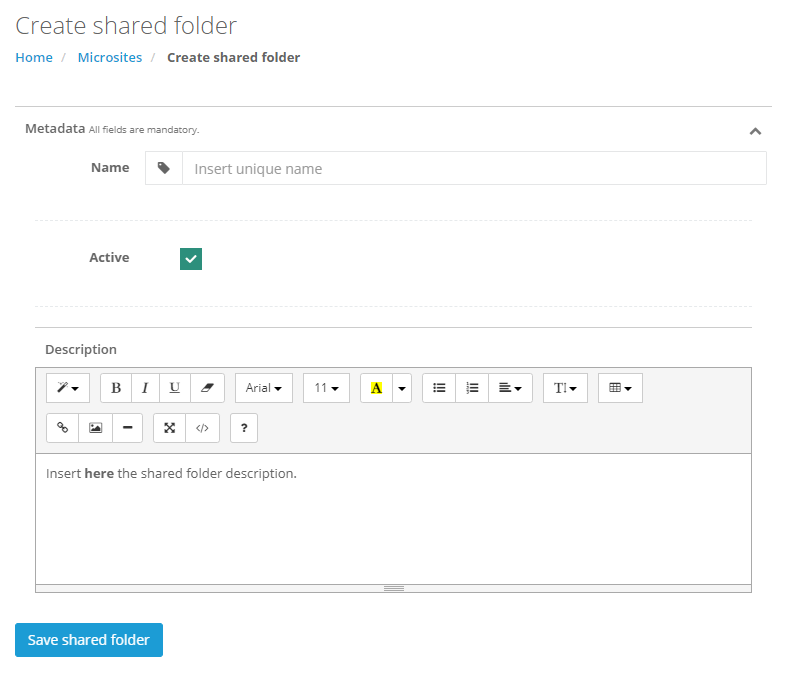
The available options are:
- Name: this name should be unique to this folder.
- Active: if checked (default) the shared folder will be active.
- Description: an auxiliary short description that should help other backoffice users to understand the goals of this shared folder.
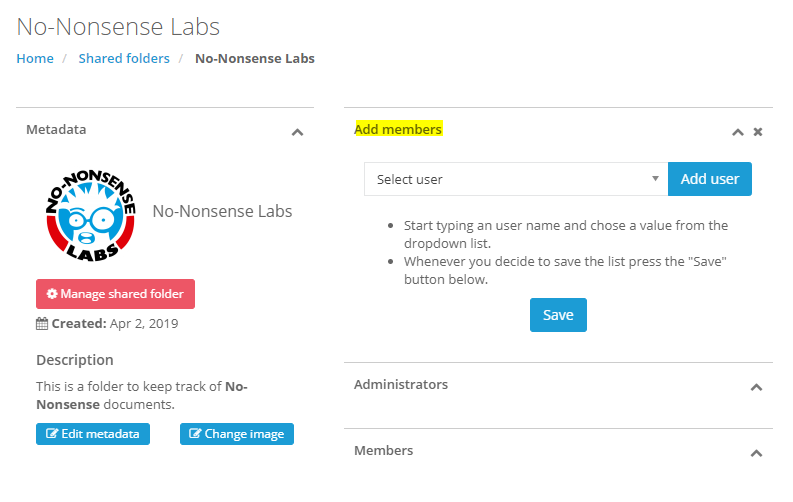
By clicking on the «Save shared folder» button the folder is created and we are redirected to this interface:
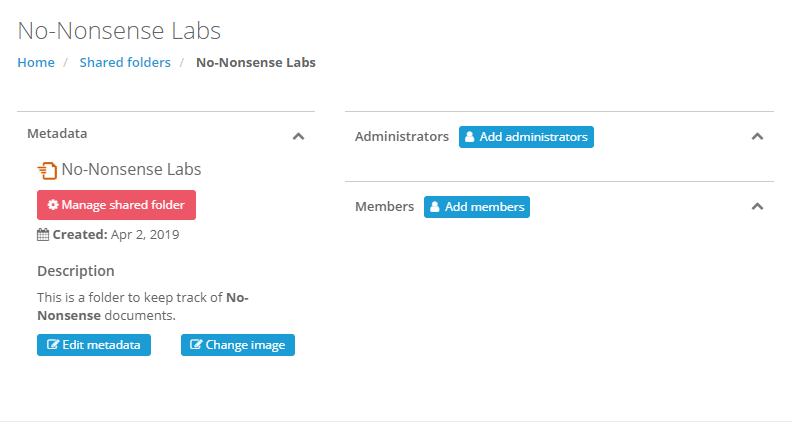
At this point we may do several things, in particular:
- Add members to this shared folder.
- Upload an image that will help identify the shared folder (by default the Docxpresso logo is used as the «folder image»).
Change image
By clicking on the «Change image» button we are offered the possibility to upload an image:
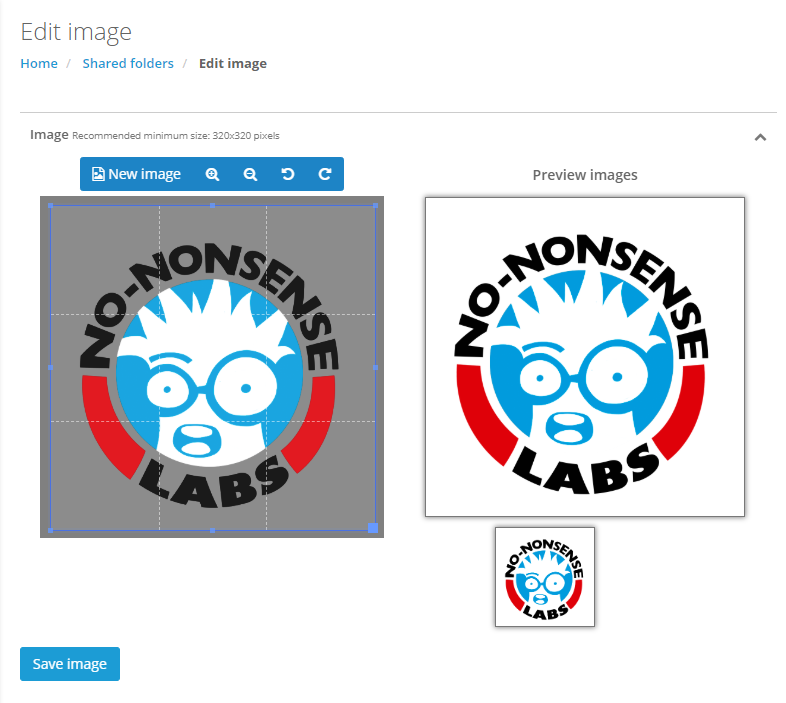
You may upload an image and crop it using the provided tools until it nicely fits the preview images areas.
By clicking on the «Save image» button the image is saved and it will be used to identify the associated shared folder.
Adding members to the shared folder
In order to be useful a shared folder needs to have members that may well be administrators that will manage the shared folder and «plain members» that will interact with the uploaded documents.
The procedure to add a member to the shared folder works similarly for both type of users. For example by clicking on the «Add members» button:
You may select one or more users from the dropdown:
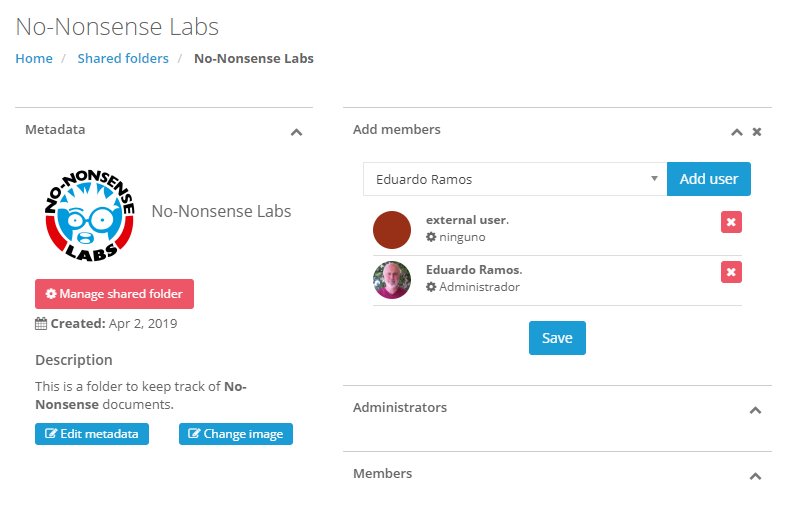
By clicking the «Save» button they are added to the shared folder:
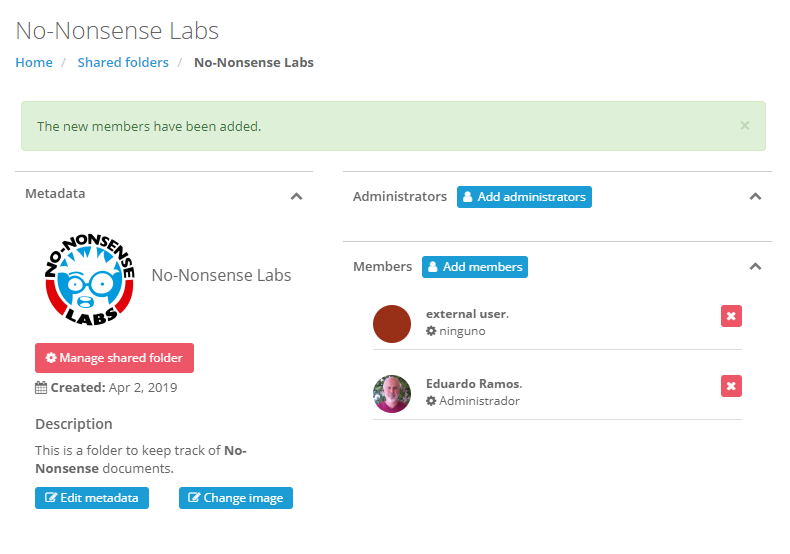
We may reproduce the procedure in order to add administrators and/or eliminate existing users by clicking on the  button and a popup for confirmation will show up:
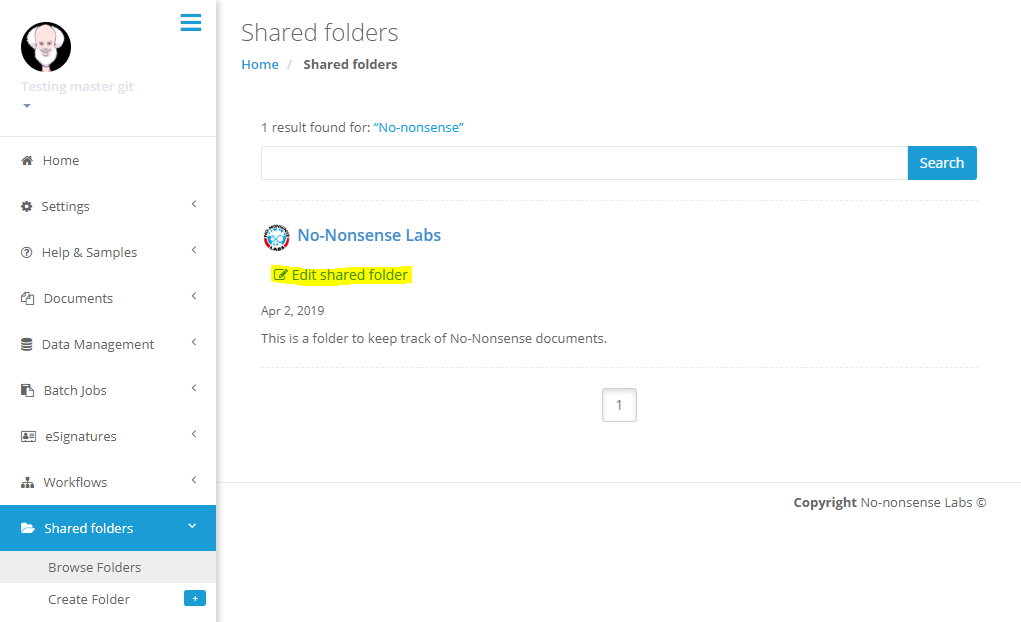
You may of course edit all this info at any later time by browsing the existing shared folder and clicking on the «Edit shared folder» link: