How to create a document template
After preparing/tagging the template in your favorite Office Suite and save it in Open Document Format (.odt) everything is ready to upload it to Docxpresso. Although it is also possible to upload directly a document in docx format we recommend to do previously the conversion to odt (which is the format internally managed by Docxpresso).
There are two different ways to upload the prepared template.
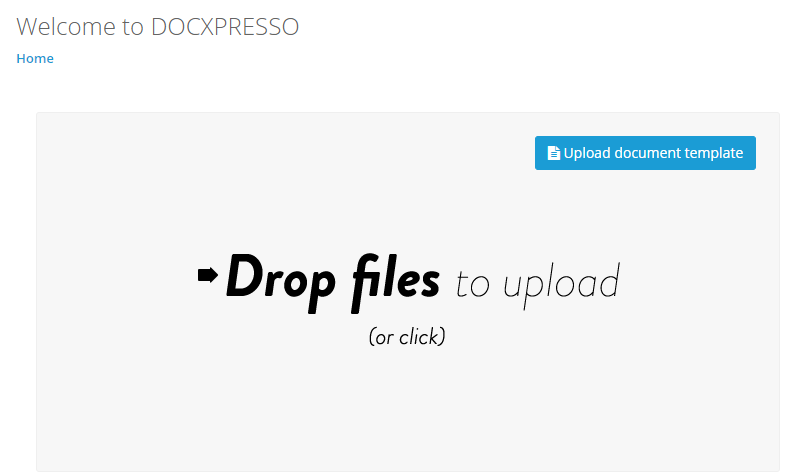
You may drag&drop the selected document into the area prepared to that effect in the Docxpresso Home page:
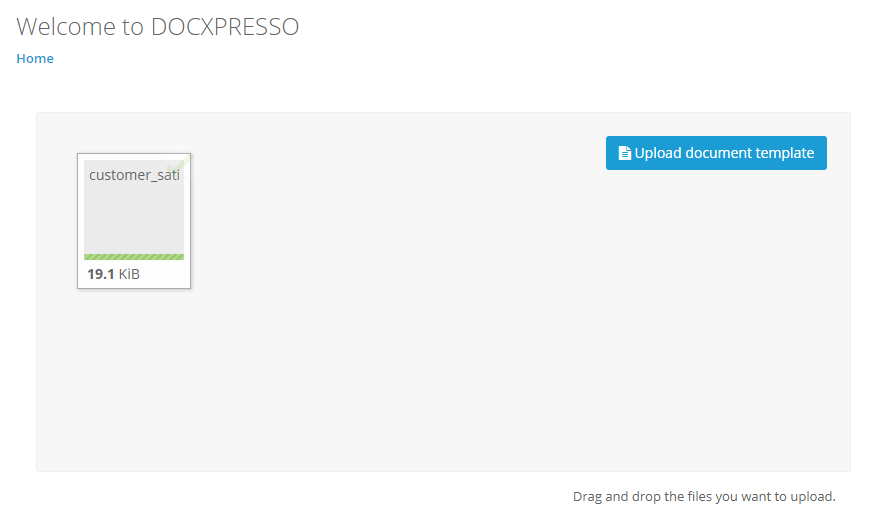
Docxpresso will offer you some feedback on the progess:
And after the document is fully uploaded you will be able to previsualize the document template in the browser:

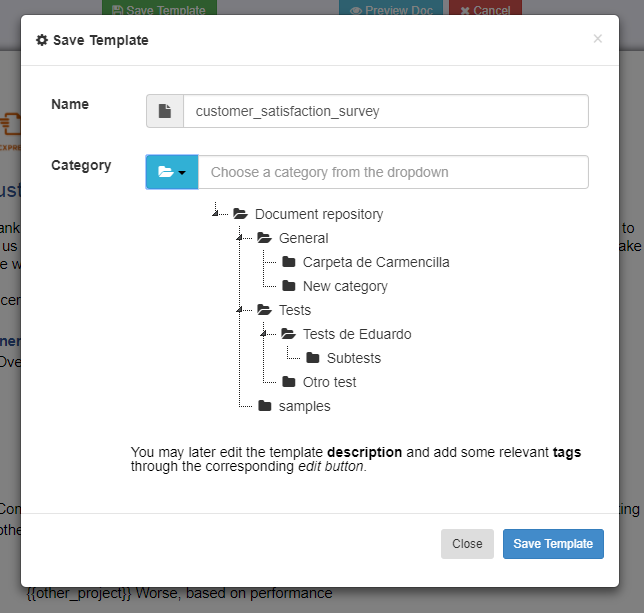
By clicking on the save template button you will be able to introduce the minimum required data:
- Document template name
- Category
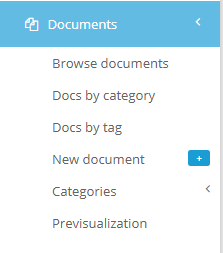
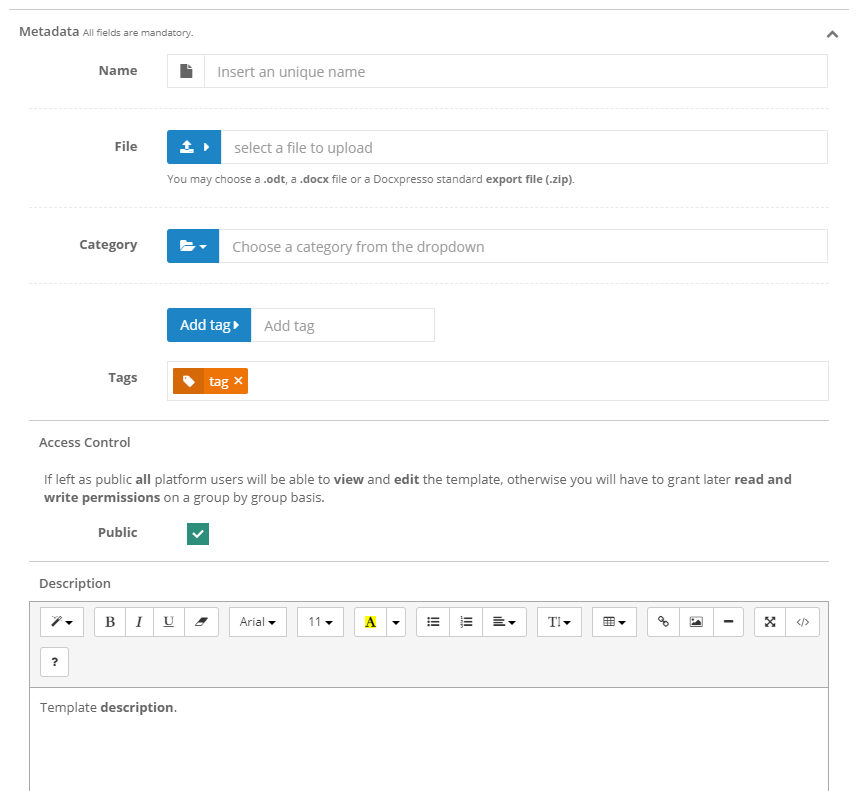
Otherwise you may complete the uploading through a standard web form as follows: Click on Documents > New Document to access the required web interface.
You will find a web form with the following fields:
- Name (required: this must be a unique name that identifies the template.
- File (required): by clicking in the green button a standard file browser interface will open from which you must select either a file in .odt format or a export Docxpresso file in .zip format.
- Category (required): you should choose one of the available categories in the category tree (if you do not find an appropriate category you should create it beforehand).
- Tags (required): start typing the desired tag in the «Add tag” input field and the system will offer you pre-existing tags. If none of them suits your needs just finish typing and hit enter to save the new tag (you may later remove it by clicking on the «x” button). You should, at least, include one tag.
- Active: leave the checkbox checked if you wish that the template appears in document listings, document searches, etcetera.
- Public: leave it checked if you wish to grant read and write permissions to all other editors. Otherwise you will have to grant later specific permissions based on groups for reading and writing (you may, of course, edit these permissions at a later stage).
- Description (required): insert a brief description that will further allow to identify the purpose of the template for other backoffice users or eventually end users.
Whenever you consider that all fields are completed you should click on the «Save Template” button at the bottom of the page.
If there was no validation errors you will be redirected to the template page where you will be informed if the action was performed successfully or there were any unexpected problems.
Warning: if you have used non standard chars or white spaces within your tagging variables you will be warned that it may cause problems so you should edit the uploaded template and reload it to Docxpresso.
