Docxpresso incorporates a simple «workflow engine» that allows to automatize certain processes that require the intervention of more than one person/step in order to be completed.
Let us imagine a document that should be fulfilled by more than one user and data must be provided in different stages. Although such process could be carried out by means of the generation of share links after the participation of every single user, that may result a little cumbersome and error prone so Docxpresso allows to organize the whole process in a workflow.
Conceptually a Docxpresso workflow consists in a series of steps (ordered or not) for which the creator may determine a priori:
- The template to be used.
- The user that should complete each step.
- The associated action.
- The variables that can be edited in each step.
- All required notifications.
There are a series of actions needed to define a workflow that we now explain in what follows.
Select a Docxpresso template
By clicking in the «Create workflow» menu entry:
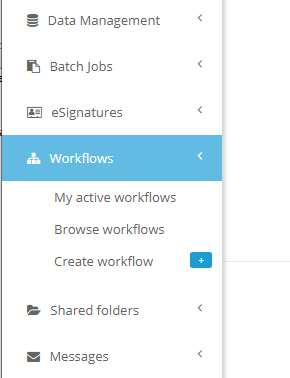
We will be redirected to the following interface where we can choose a template:

You may navigate through the «template explorer» and choose the desired template by clicking on the «Select» button.
Once done so we are redirected to the main workflow creation interface.
Workflow edition
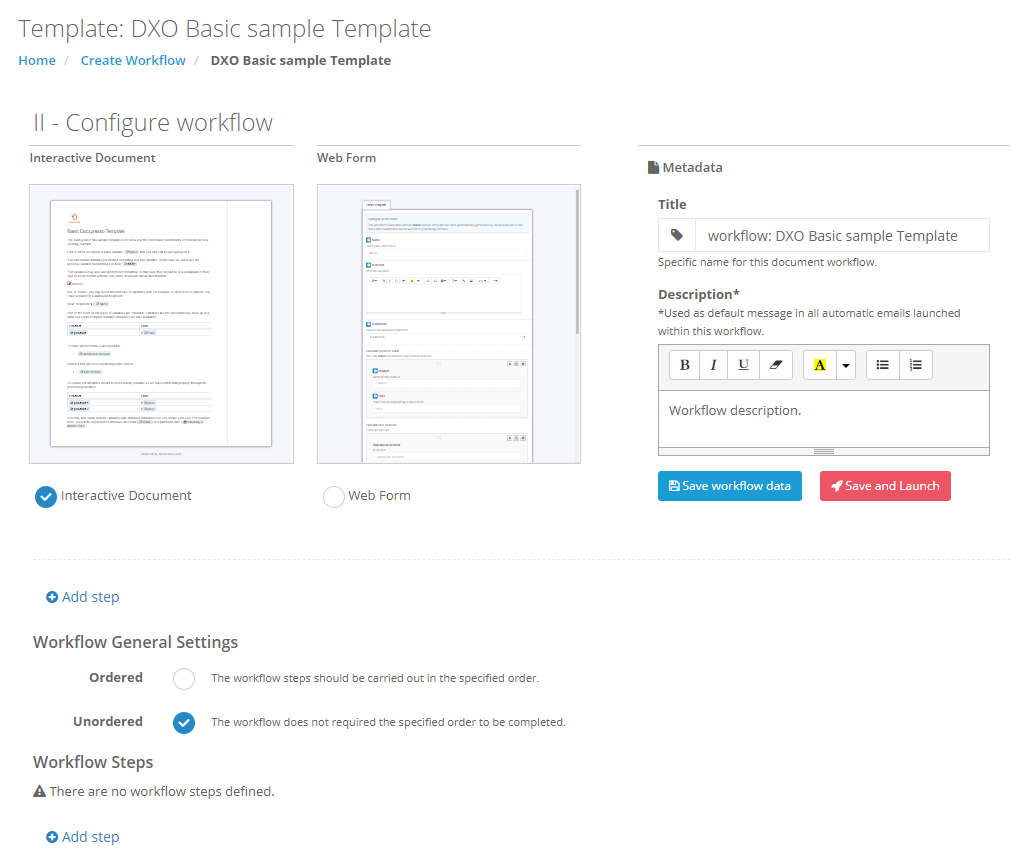
In this interface we should first complete a series of general options before defining the workflow steps.
- Interface format: could be an interactive document or web form as it is shown in the offered previews.
- Title: the name that will allow us to identify later this workflow.
- Description: this description is of great important because it will be used in all automatic notifications by email.
- Ordering: the workflow may be ordered, i.e., one step cannot be initiated until the previous one is completed. If the unordered option is the chosen one there will be no restriction whatsoever to that respect.
Now we may start adding steps to the workflow by clicking in the «Add step» link:
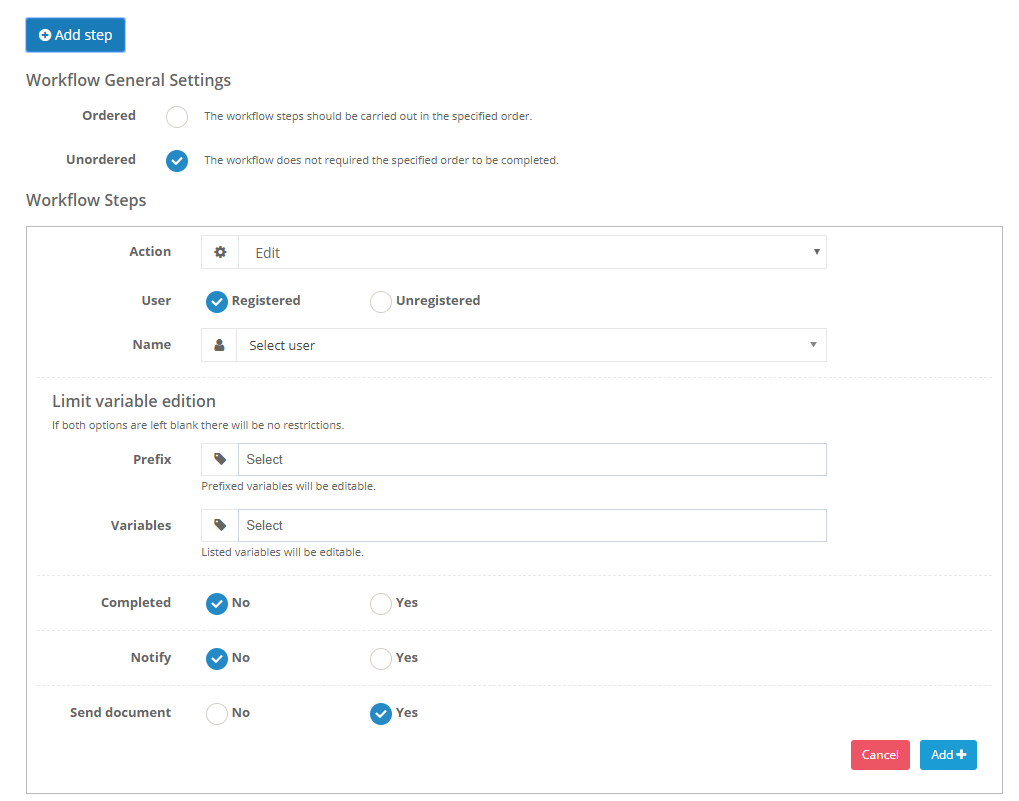
As explained before for each step one should select:
- Action: it can be Edit (default value) or Validate.
- User: can take two possible values:
- Registered: you are prompted to choose an user among the list of registered users of your Docxpresso instance.
- Unregistered: you will be prompted to introduce manually a name and email:

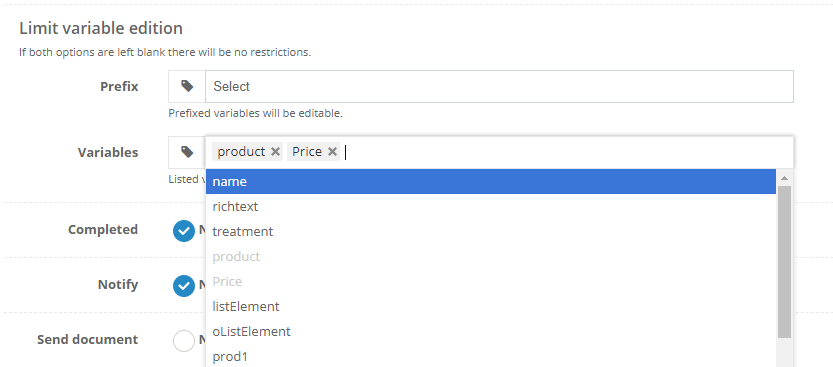
- Limit variable edition: by prefix or one by one:
- Completed: this must only be used to revert manually later a already completed step so normally it should be left with its default value.
- Notify: check Yes if you want the user to be automatically notified by email that there is a pending action to carry out. On ordered workflows the user will only be notified upon completion of the previous step and in unordered workflows just on launch.
- Send document: check yes if you want that user to receive by email a copy of the completed document.
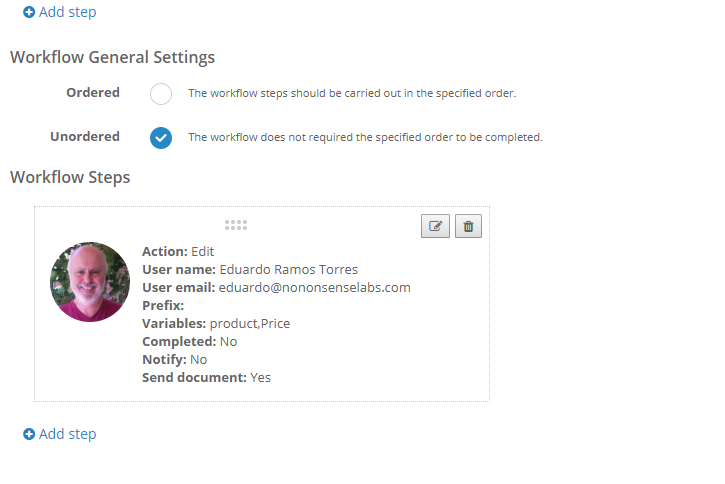
After clicking on «Add+» the step will be added to the current workflow:
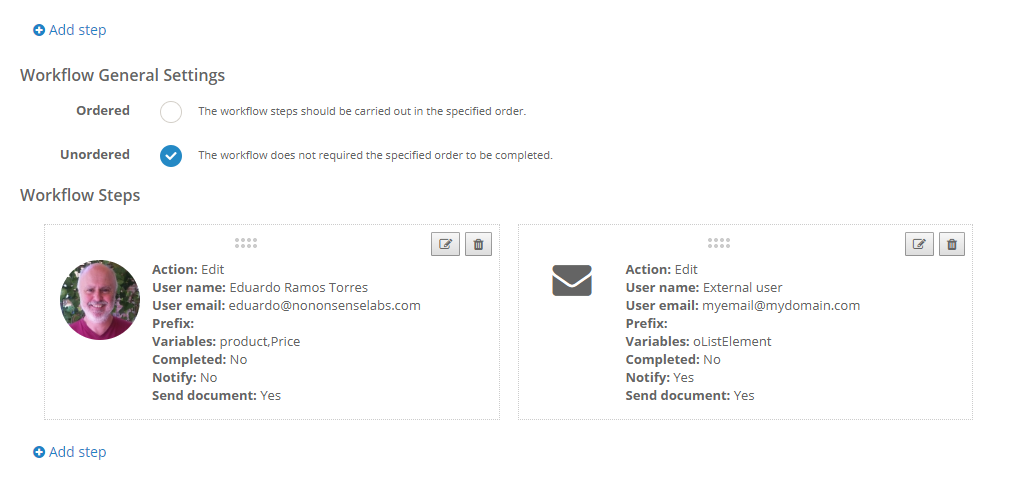
You may add other steps, edit previous ones or reorder them by drag and drop:
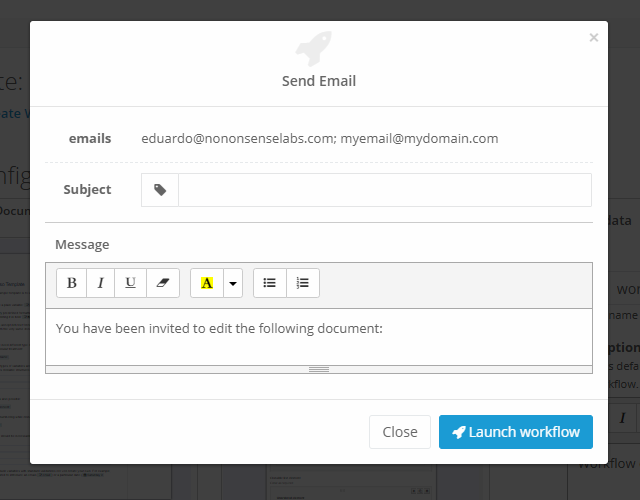
Whenever we have added as many steps as required we may just save the Workflow and manage manually the first notification or launch directly by clicking on the «Save and launch» button:
You will be notified of the users receiving the notification and you will be able to customize this first email contents (for the rest of communications the title will be used as subject and the description will be used as body of the message). The required links will be automatically added by Docxpresso at the end of the message:
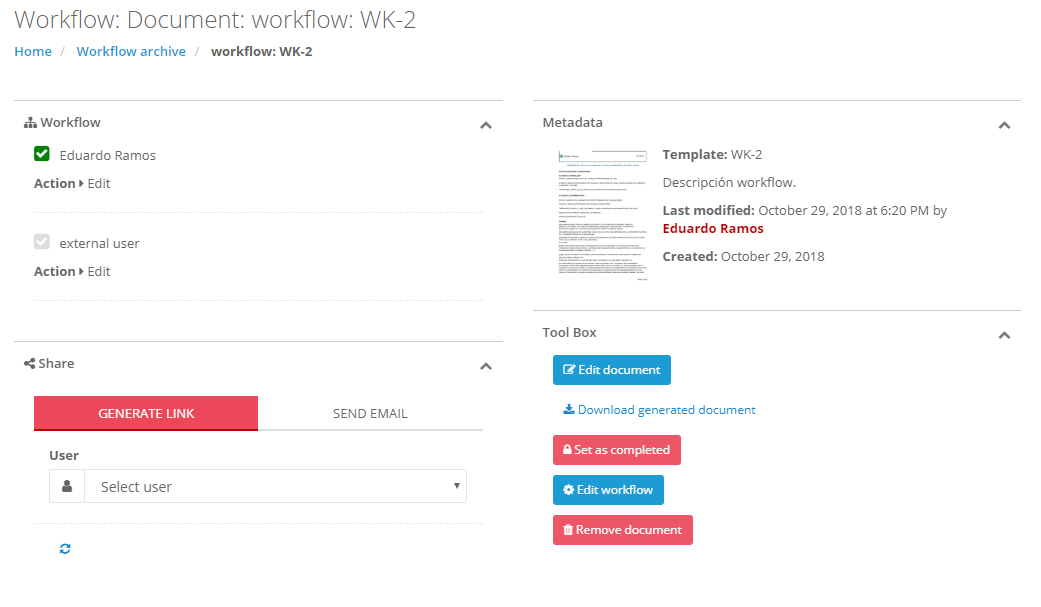
Afterwards you will be redirected to the «workflow administration» interface: