Add documents to a Shared Folder
A shared folder is designed to store documents associated with a particular group of users.
Shared folder administrators may add Docxpresso documents to a shared folder so they may be edited by the corresponding shared folder members.
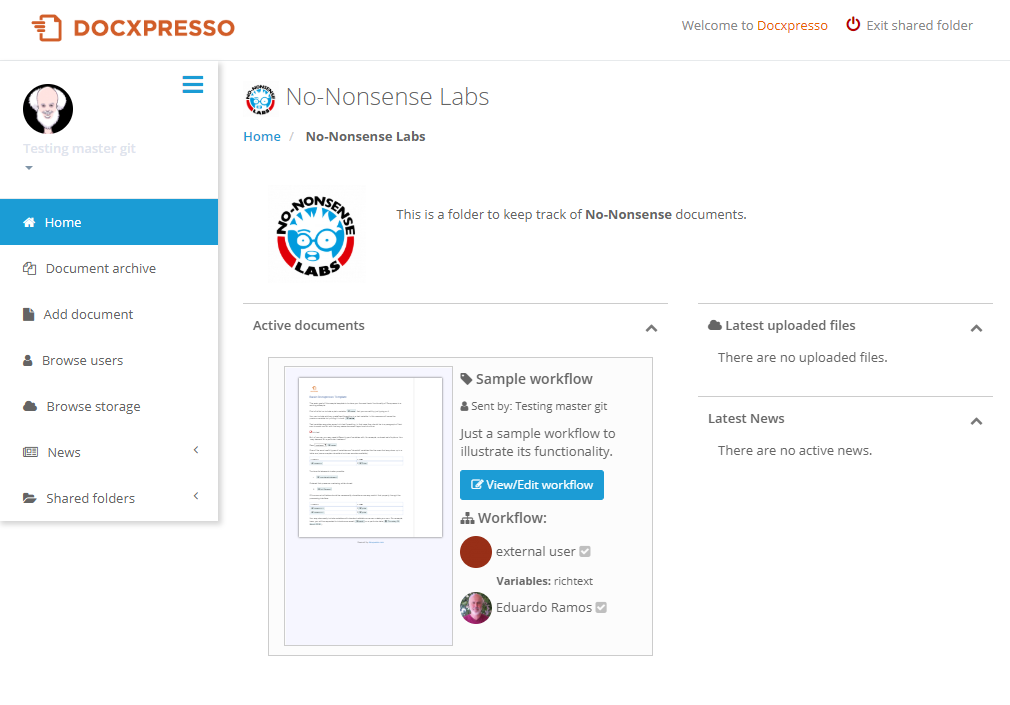
In order to do so first browse the shared folder list and click on the required title and we will be redirected to the corresponding shared folder:
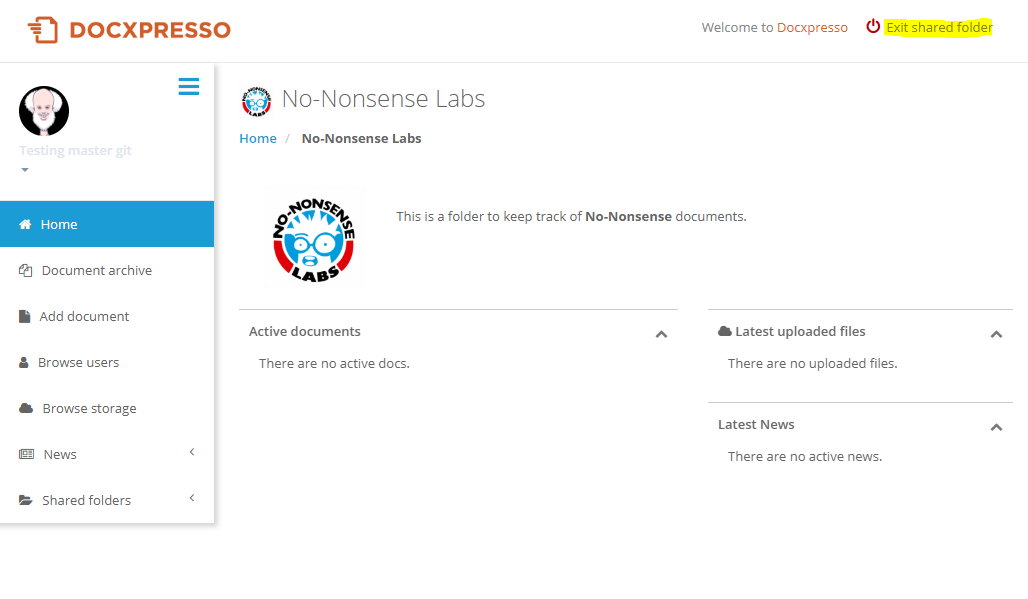
IMPORTANT: To leave the shared folder interface you should click the «Exit shared folder» link on the top right corner (highlighted in yellow in the above screen capture).
In order to add an interactive document to the folder we should click on the Add document side menu entry:
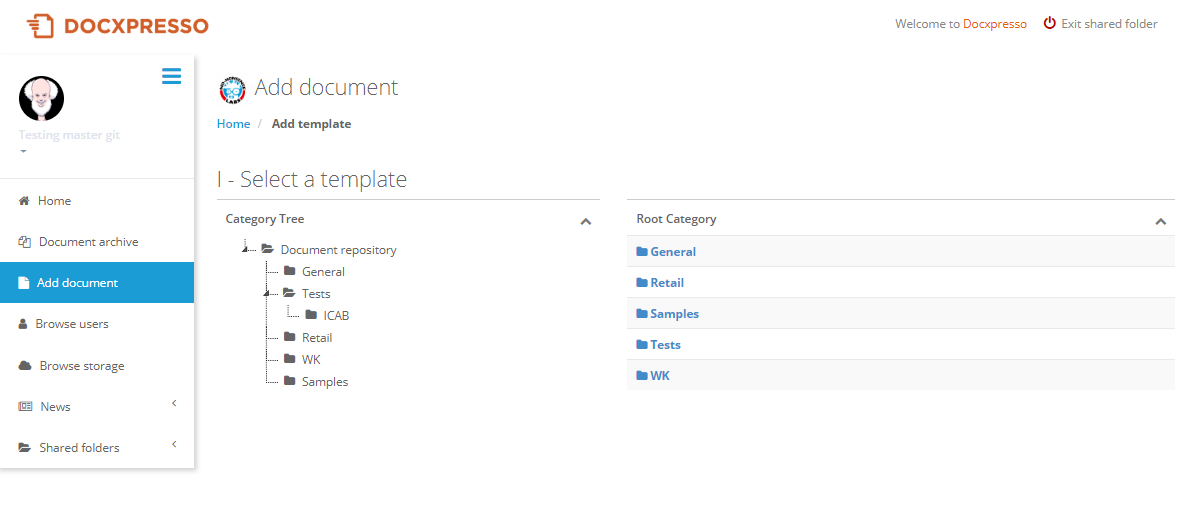
Where we can browse the existing templates available in your Docxpresso instance. By clicking on the different folders as you will normally do with a file explorer we can navigate until finding the required template:
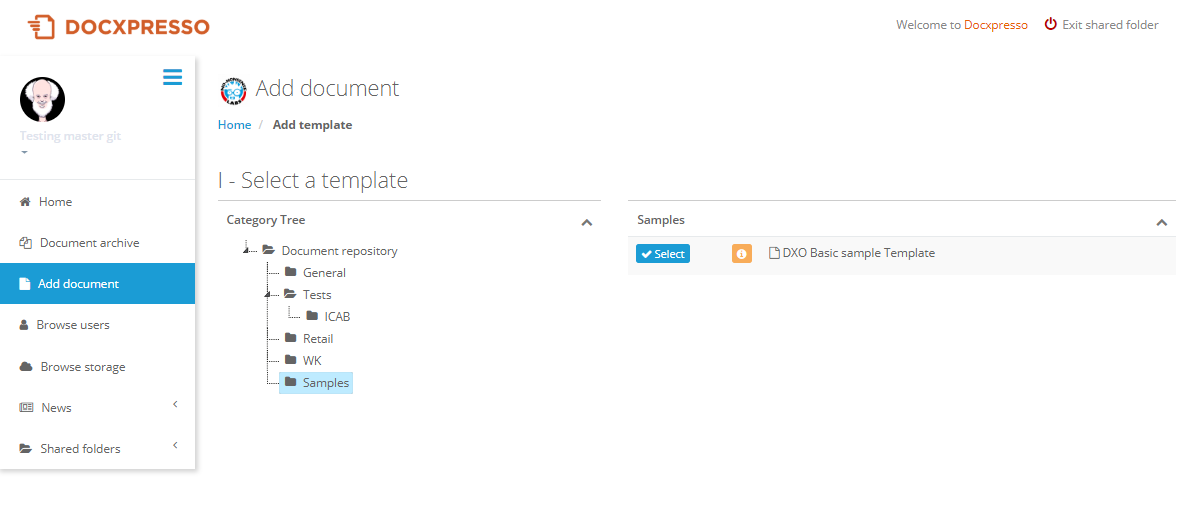
Clicking on the «Select» button the corresponding template is selected:
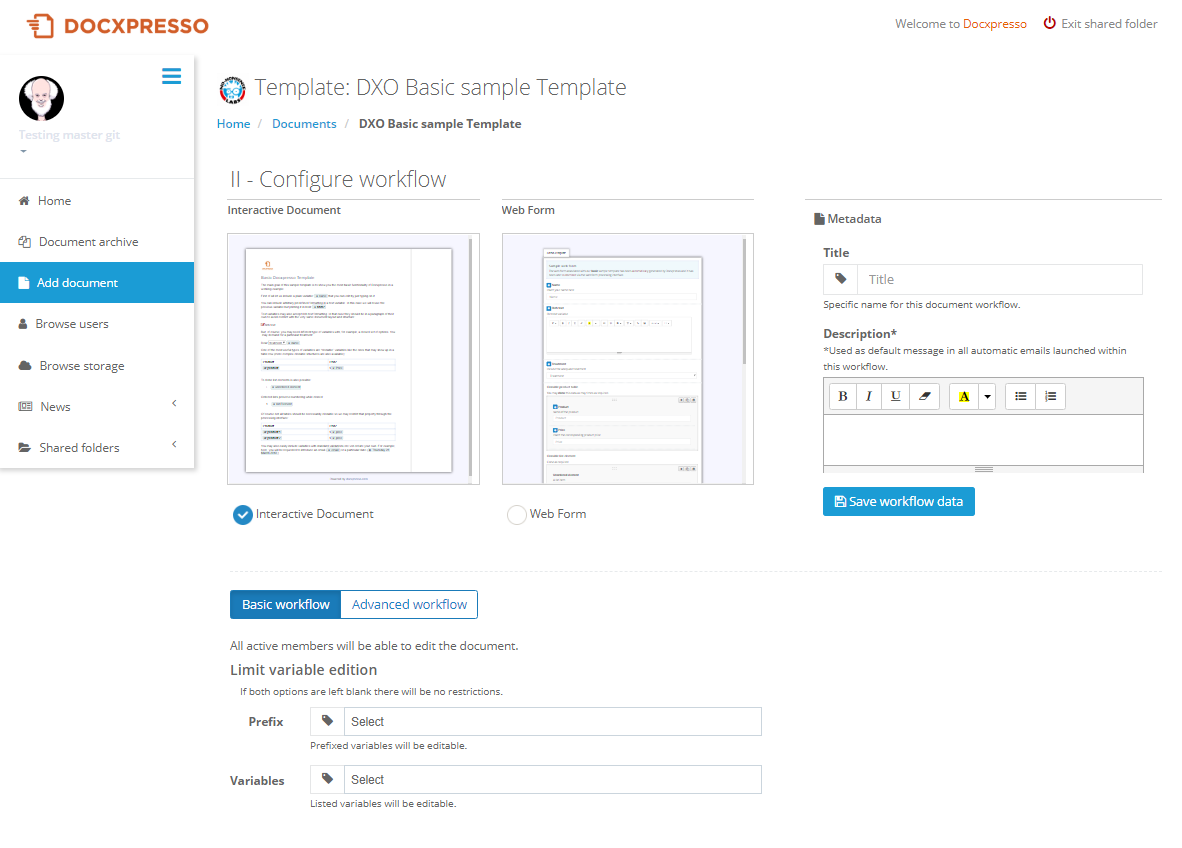
In this interface you can manage the workflow associated with this document within the shared folder.
One should first introduce:
- Document type: interactive document (default option) or web form (check the associated radio button below the web form screen if that is the option of your choice).
- Title: the name given to this document so can be easily identify.
- Description: a brief description that will also be used whenever an automatic email message is sent to any of the shared folder members involved in the process.
There may be two kind of workflows associated with this document:
- Basic workflow: any shared folder member will be able to access and edit this document and the only option is to restrict the edition of the template variables:
- Prefix: by choosing a prefix the variables that share that prefix will be editable.
- Variables: one may choose the editable variables one by one.
- Advanced workflow: multiple steps with specific associated members (explained in more detailed below).
Advanced workflows
If we click on the «Advanced workflow» button we are offered the following possibilities:
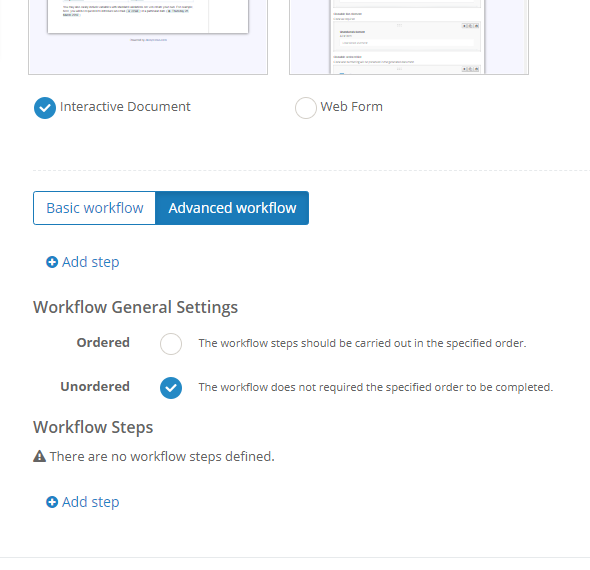
We should first select if we want an unordered workflow or an unordered one (beware that there may be potentially conflicting simultaneous editions in this case that although automatically managed by Docxpresso may cause unexpected results if the sane variables are editable by different users).
By clicking on «Add step» we are offered several options:
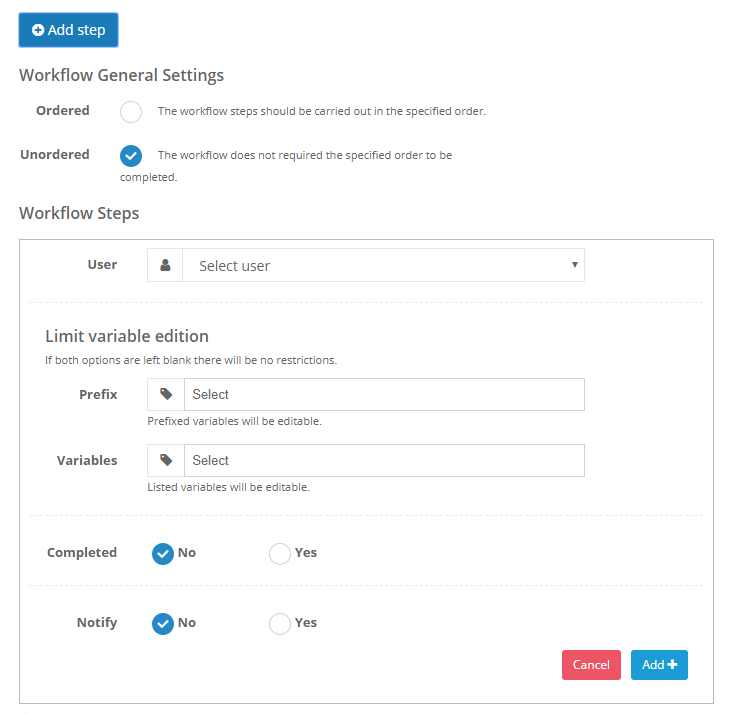
- User: use the dropdown to select the required shared folder member.
- Limit variable edition: you may choose as before a set of prefixes and variables that will restrict the editable template variables.
- Completed: leave it as No (default value). This field is only there so an administrator may revert to an «uncompleted» state that particular step.
By clicking on the «Add+» the step will be added to the workflow.
We may repeat this action as many times as needed to obtain something like:
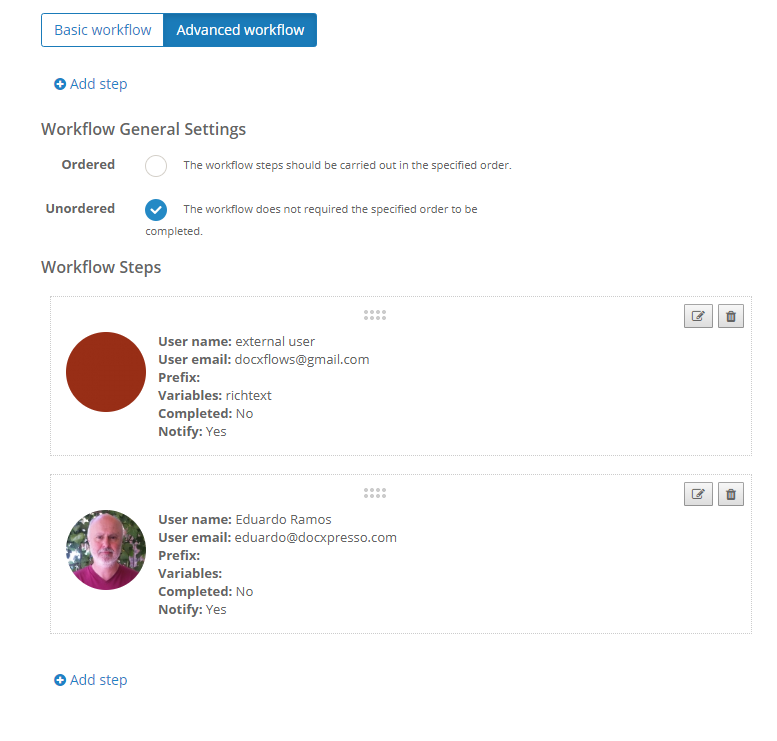
You may now reorder the steps by dragging the box and edit or delete a given step by clicking in the corresponding buttons.
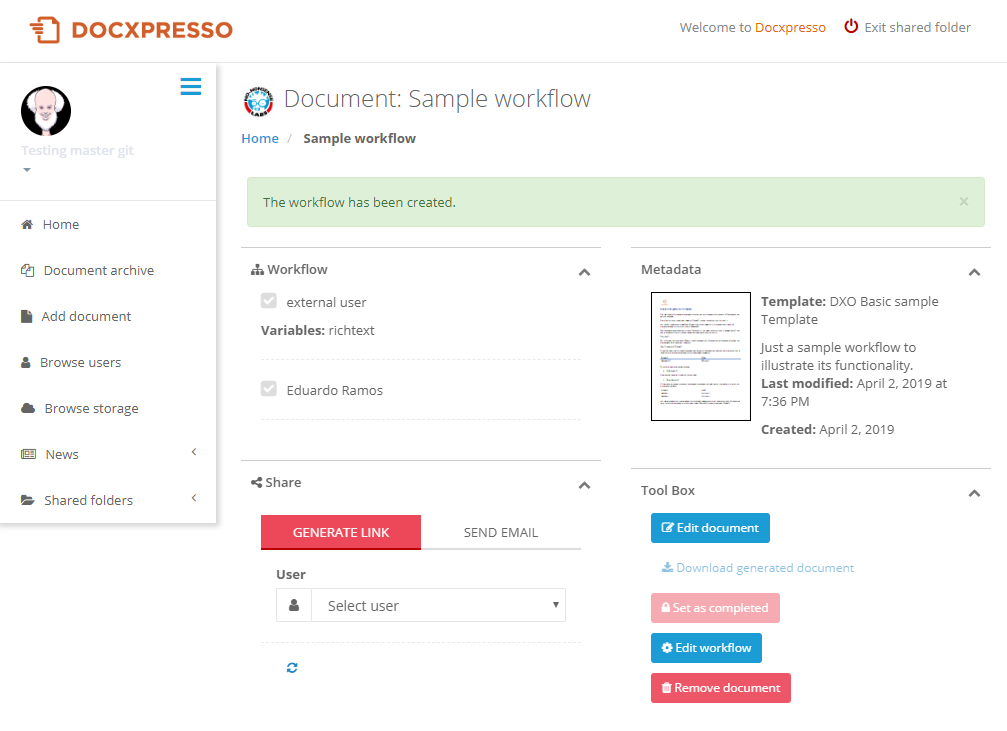
After clicking the «Save workflow data» we are redirected to the administrator interface associated with the workflow:
You may notify by email any workflow member that there is a workflow that is waiting for his/her input.
In any case all workflow members will be able to interact with the workflow from the «shared folder homepage»: